In this post we’re going more in depth with parts of the project we discussed previously: the kitchen, the entryway and the master spa bath.
| (Click any image to view larger) 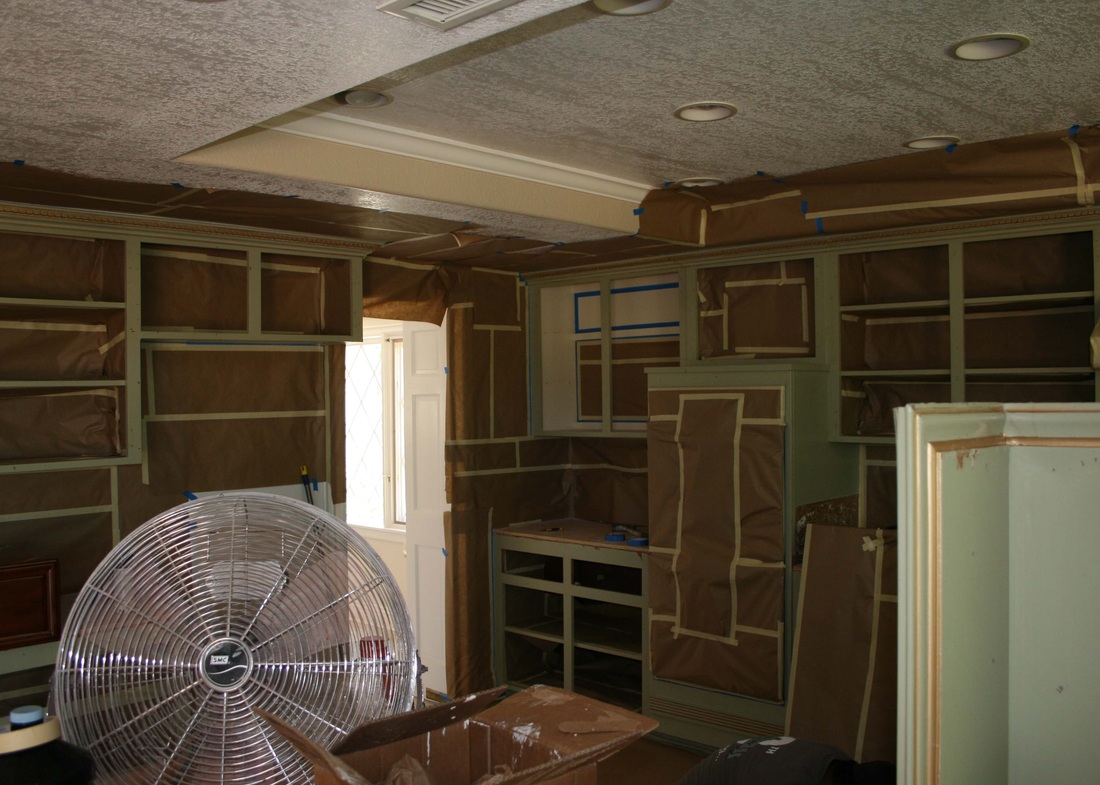
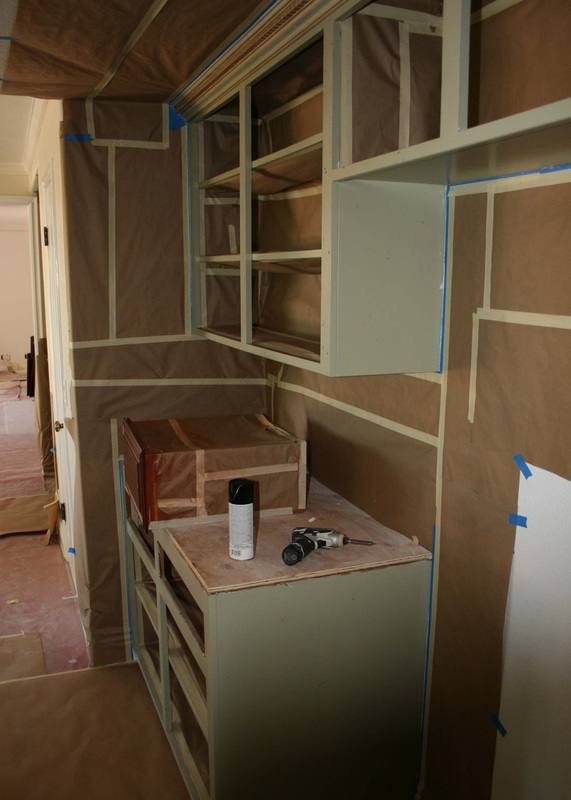
| Starting with the kitchen, we’ve removed old countertops, backsplashes, and the window and we’re prepping for our new finish as well as installing a new window. There’s also a bar in the family room that needs to be addressed, and we’re stripping off the old finish (a dark stain that was poorly executed), sanding it and getting it ready for the new. In the kitchen we’re using a faux finish designed to look more like a real wood finish, though done on materials that are typically suited for paint, not stain. |
| Next, we’ve removed the mirror in the entry, and created a new panel based on my design for the client. The panel you see in the photo will be stained to the match front doors, and a faux finish will go on the window frames around the 2 sidelights – giving the front entry a uniform look. Through all of this, while in production and we have multiple crews there on a daily basis and we manage them to successfully execute each phase of the project. | 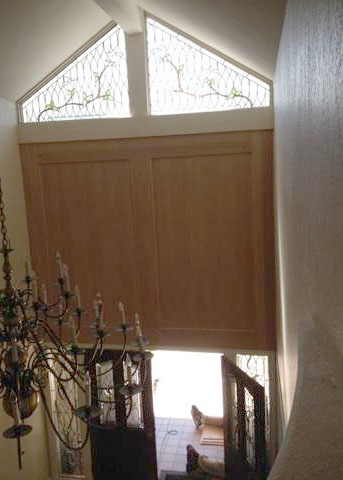
|
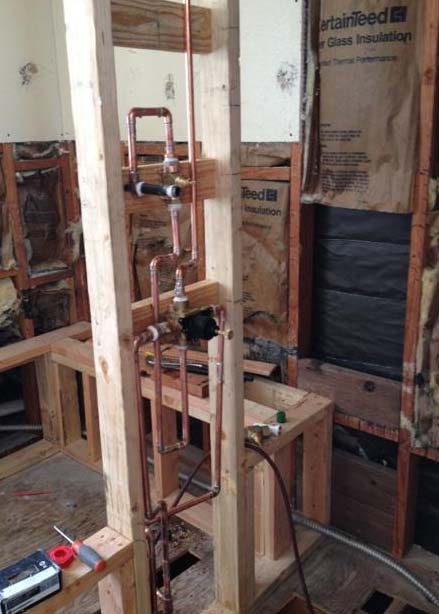
| In the master bath upstairs we’ve abandoned the old tub completely because it was so dated, and the client wanted a more spa like bathroom. By doing this, it allowed us to increase the size of the shower, which will now be a spa-like feature with multiple shower heads, and a steam bath. Take a look at the new framing in the photo to the left to accommodate the new tub and shower layout. |
| The spa tub that we’ve now dropped in is an air bath system designed to push warm air through small holes at the base of the tub so the whole experience becomes a warm bubbly sensation. In the photo above it’s being prepped and made ready for undermount installation. (With an undermounted tub (or sink), you see only the bowl or vessel portion, but you don’t see any of the support. It’s done to give it more custom look.) | 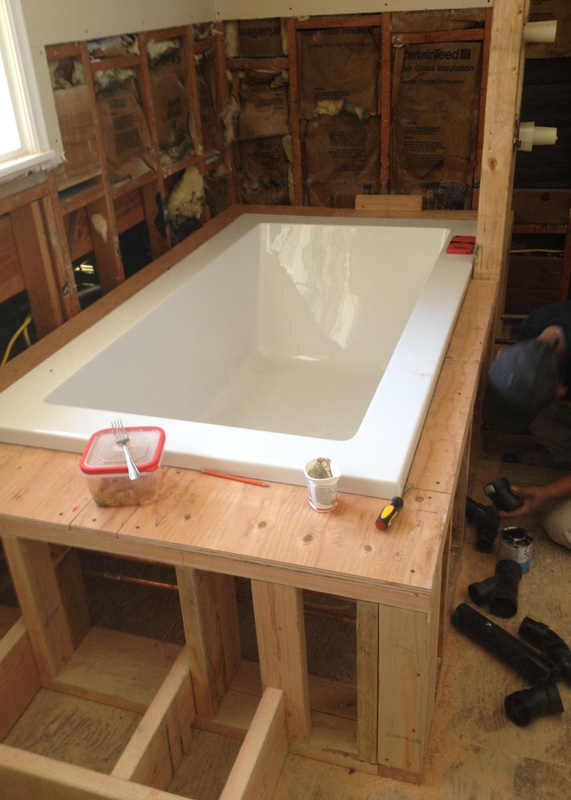
|
This brings us up to date so far as to where the project currently stands.
In the next blog we’ll be showing more of the finished product being worked on here, including: countertops, stonework produced for master spa bath, cabinets for the master spa bath, stages of our new finish for the kitchen.
Your comments and feedback are always appreciated, so please let us know what you think!

 RSS Feed