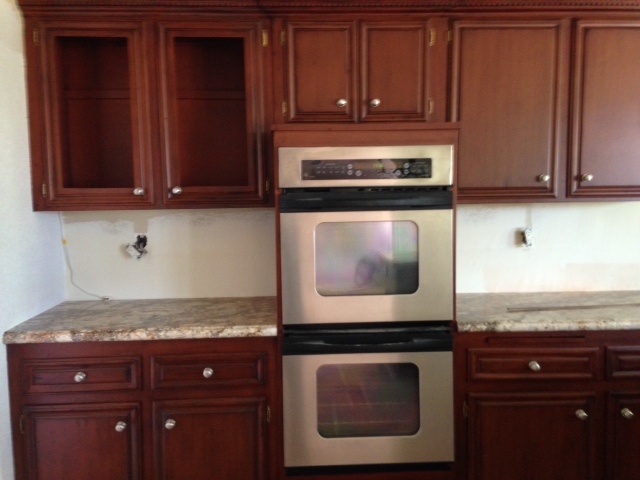
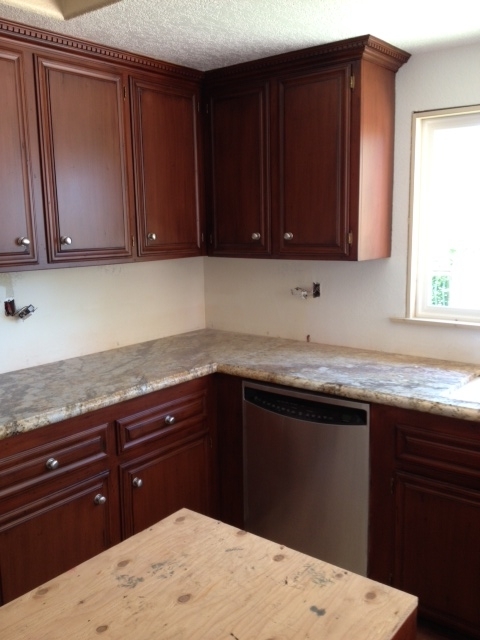
In this next series of images you’ll see the progress we’ve made in the kitchen: our completed faux finish, granite countertops and new window installed. At this point the client decided he didn’t need the 2 ovens and preferred a microwave and oven combination instead. (Click any photo to view larger)
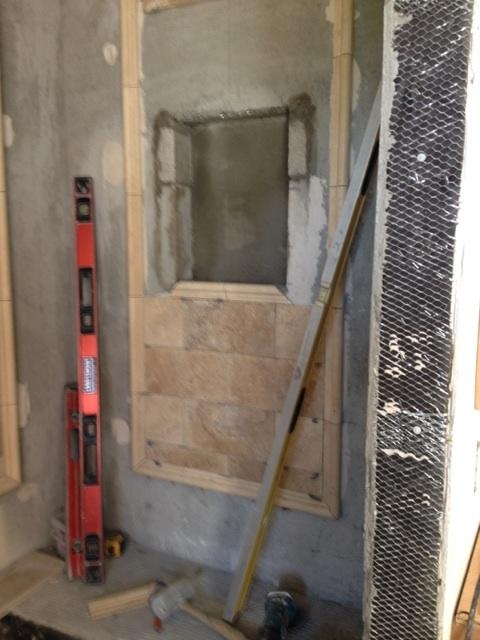
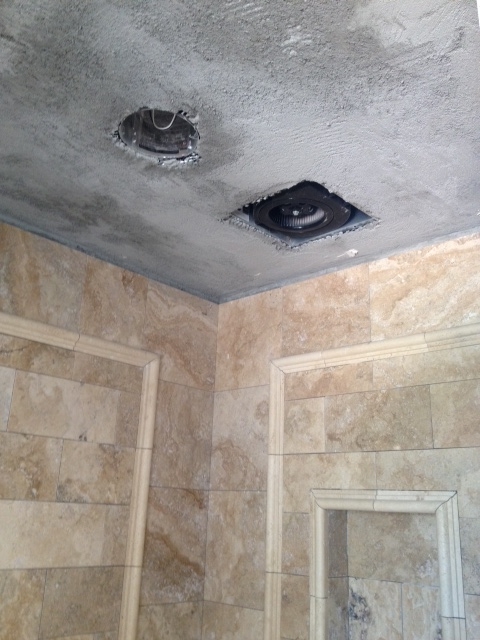
Moving on to the master bathroom we begin our tiling process. The material we’ve chosen is a form a travertine, but it’s not your run-of-the-mill coloring and is very unique.
I’ve chosen a running bond (or brick) pattern to give the shower a more contemporary feel. We’ve also included a stone liner to give us the ability to create some pattern and design for the stone inside. In the photo below you can see we’re also creating a shower niche for the bath products.
The ceiling is being prepped for tiling, also done in the running bond pattern. (click any image below to view larger)

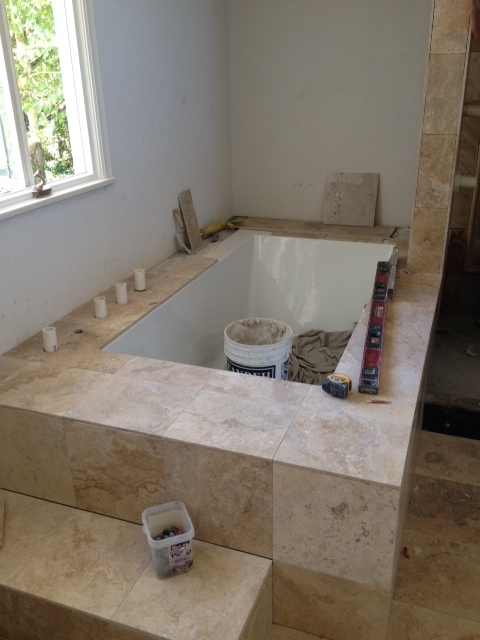
The tub is being tiled in, so now you can see how clean the under mount tub is as it’s getting closer to completion.
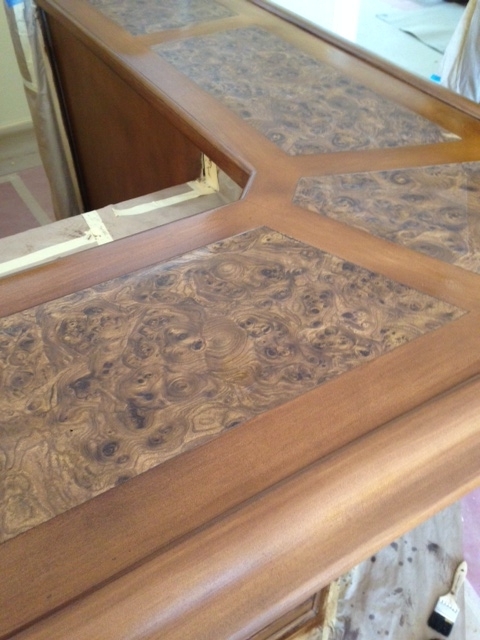
The bar’s finish was also fully addressed – here is a photo now of the bar after stripping and sanding with it’s new finish, we’ve kept it lighter to accentuate the burl wood top.

This brings us to about 7 weeks into the project – the next 2 weeks will be finalizing all of the details we’ve outline in the previous blog posts. What’s left are the backsplashes for both the kitchen and master bath countertops which have already been installed, setting all of our final fixtures for our new sinks and shower, as well as our new lighting fixtures. I convinced the client to change the entry fixture to one that is more updated and suitable to the overall design.
We’ll also look at the final designs of our 2 fireplace details, one of which allowed us to mount a new flatscreen tv on an existing brick fireplace. This provided a unique challenge in that the client wanted surround sound for the room too, requiring the TV and sound on the fireplace. The sound is part of the whole-house music system that required multiple wiring to be brought to a central location on the fireplace. Since it’s fully brick, it could not be drilled through, thus the wiring had to be mounted on the front of façade of the fireplace. Our next blog post will show you how we accomplished the client’s goals while maintaining integrity of our design, overcoming the challenge of automation in a 30 year old home.
Thank you for reading the blog post this month. As always, your feedback, comments and questions are more than welcome!

 RSS Feed