Being that we live in California, we're lucky to be able to live outside almost year round. One of the things I strive to do in my designs, especially if I'm involved in a project early on, is to encourage my clients to create an outdoor living space as part of their new home.
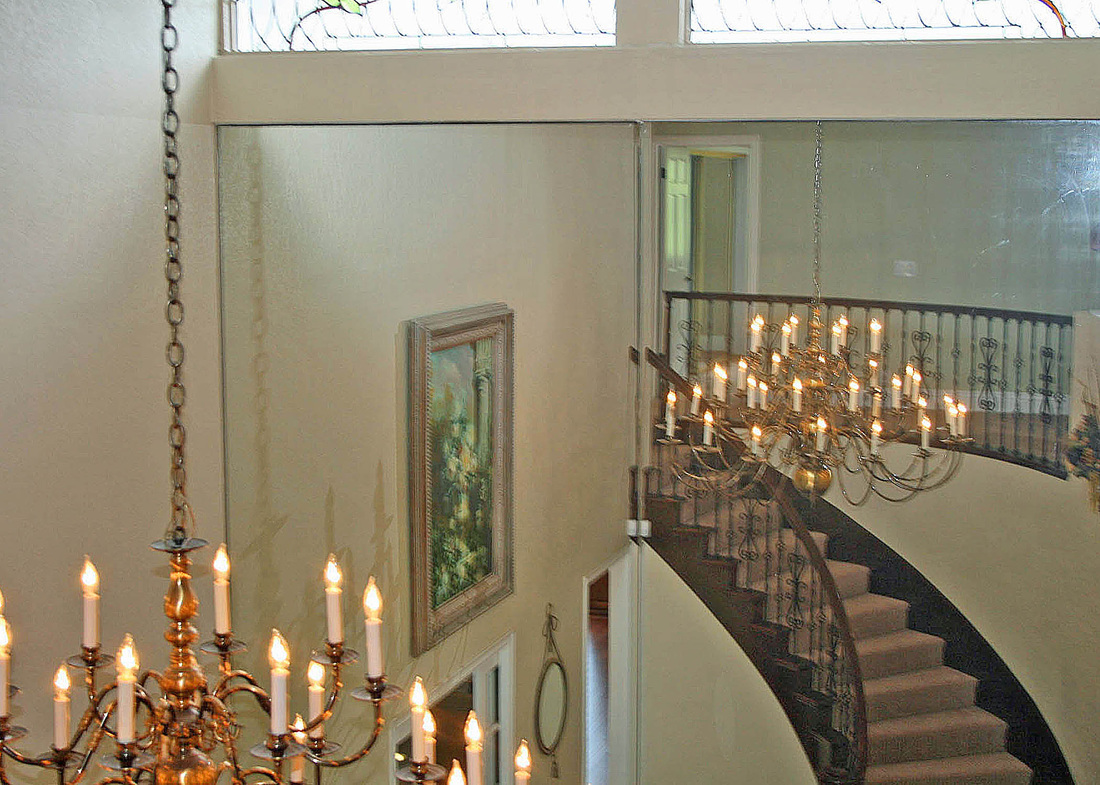
 Design by Rich Starley Interior Design Studio
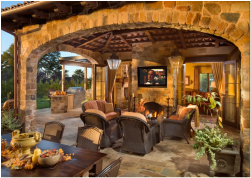
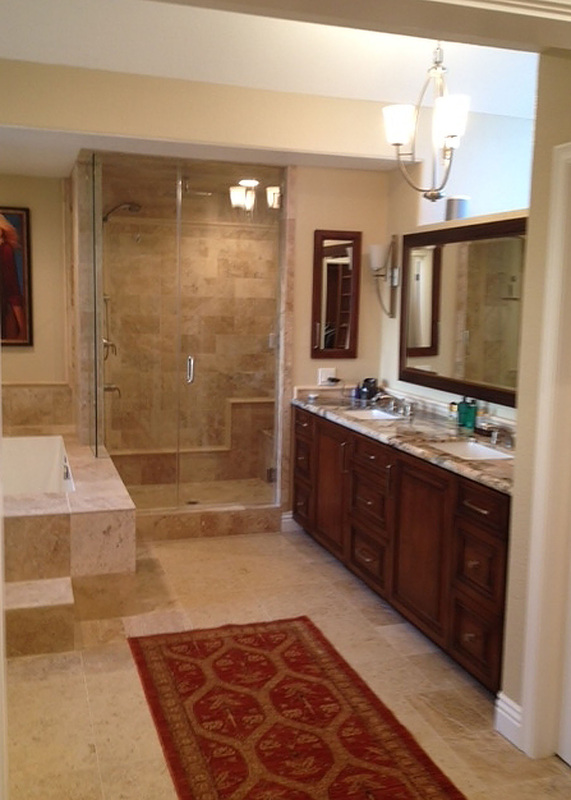
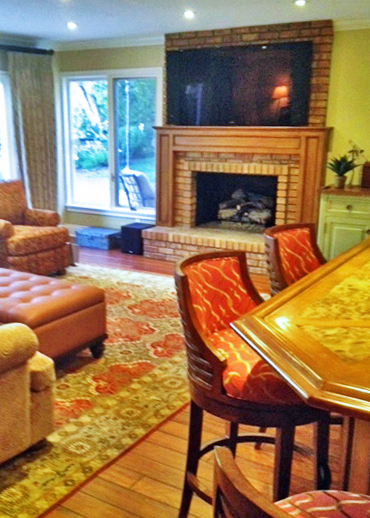
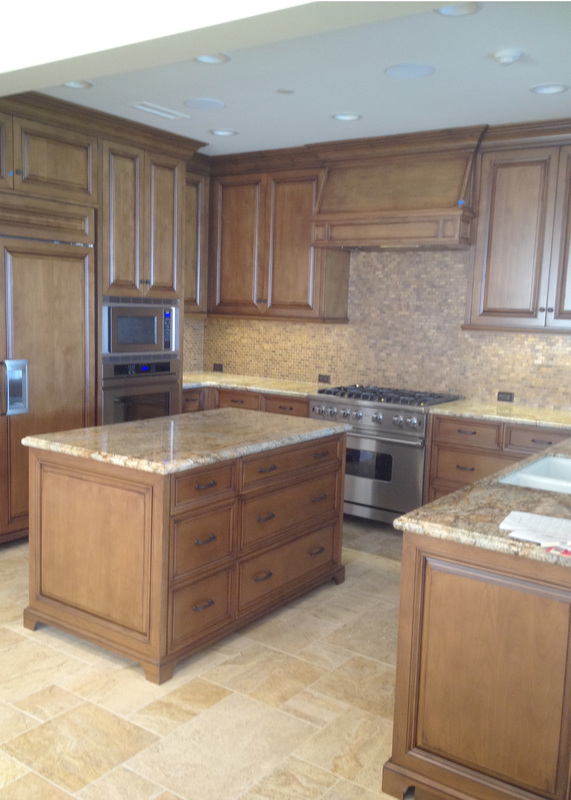
 The areas that we design can have a wide variety in the way they are executed. To create a full on indoor-outdoor feel we would create a loggia, an outdoor covered living space like this one we designed for a client in Pasa Del Mar.
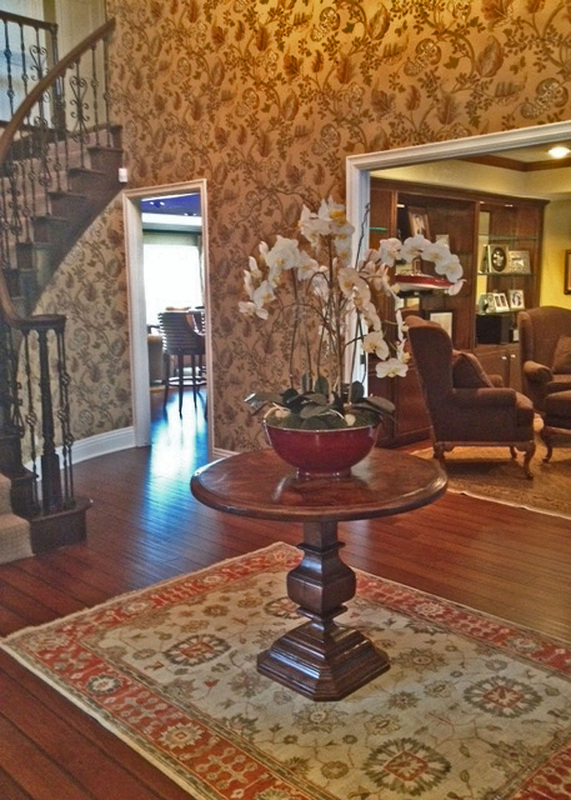
 Design by Rich Starley Interior Design Studio
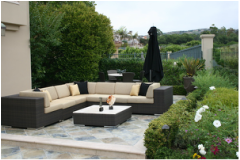
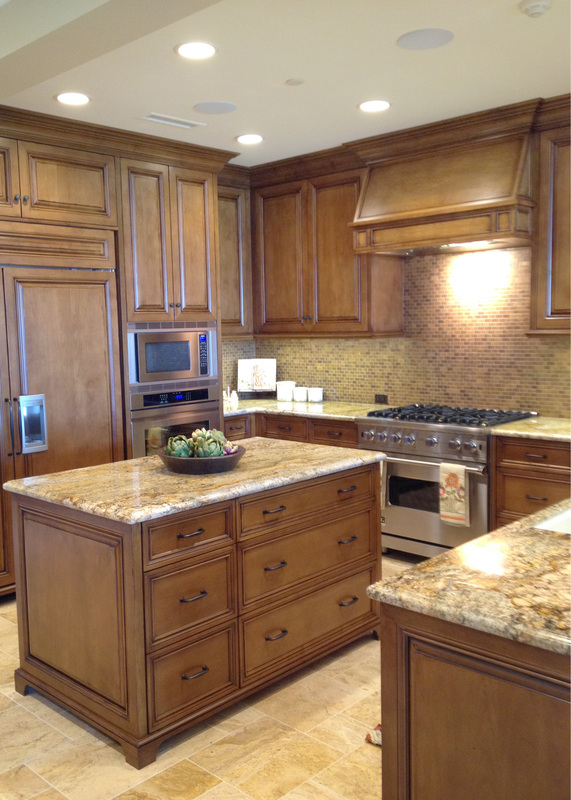
 Another way of developing an outdoor living space is to develop the space entirely outdoors. Then provide umbrellas or optional awnings to give sun shading like this uncovered outdoor patio we created for a client in Newport Coast.
Outdoor Furniture
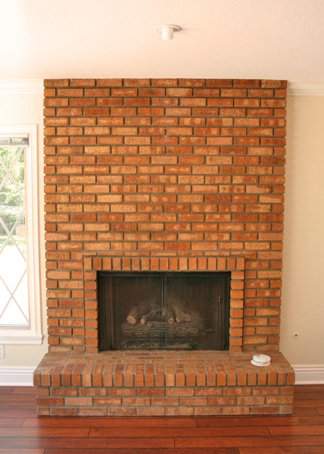
Features for an outdoor living space can include an outdoor fireplace, kitchen, or outdoor barbecue area. New technology developments mean we can now have a TV outdoors along with a music system incorporated into an outdoor living space.
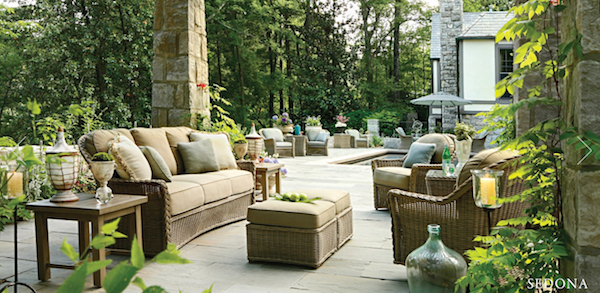
Most important though is comfortable seating and a place to eat. For the last 5 years I have represented a line of outdoor furniture by Summer Classics. I encourage you to take a look at their website www.summerclassics.com The furniture below is from Summer Classics' Sedona series. This is just one of many venders I represent when it comes to outdoor furniture.
Most important though is comfortable seating and a place to eat. For the last 5 years I have represented a line of outdoor furniture by Summer Classics. I encourage you to take a look at their website www.summerclassics.com The furniture below is from Summer Classics' Sedona series. This is just one of many venders I represent when it comes to outdoor furniture.
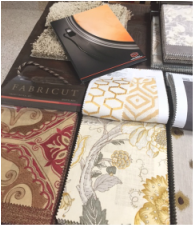
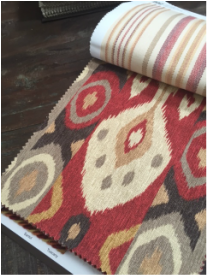
In addition to the great resources I have for outdoor furniture, my Designer Fabric Lines now carry outdoor fabrics which are hard to tell from the regular indoor fabrics. The applications go from draperies, to furniture upholstery, and more. The range has grown tremendously in the last 5 years.
Hardscape, Softscape, and Water Conservation
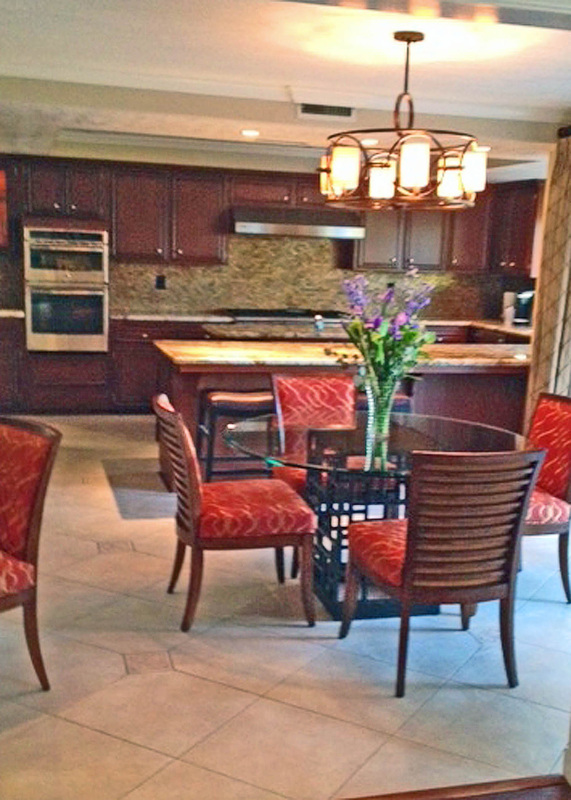
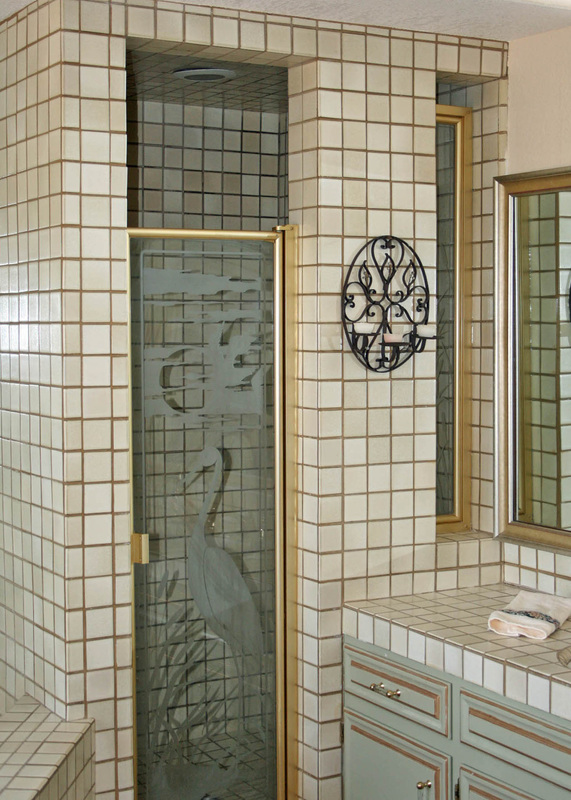
 Design by Rich Starley Interior Design Studio
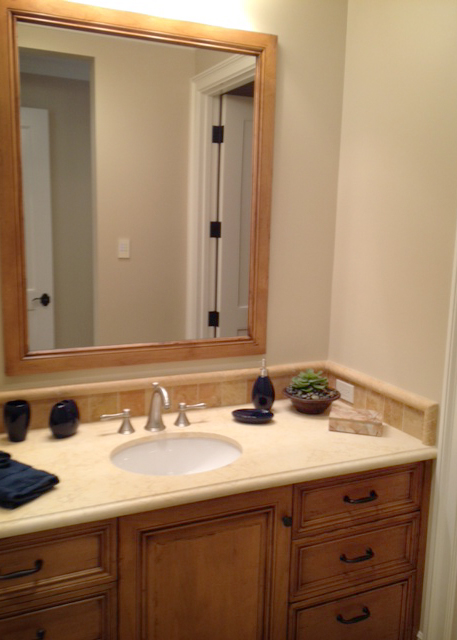
 In any outdoor living space you have your hardscape surrounded by softscape, which is your planting materials and/or lawn.
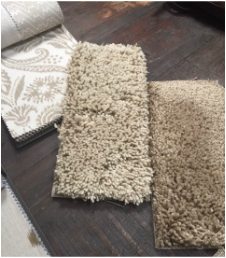
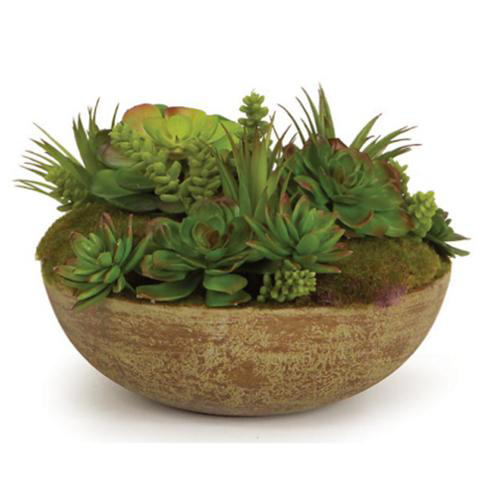
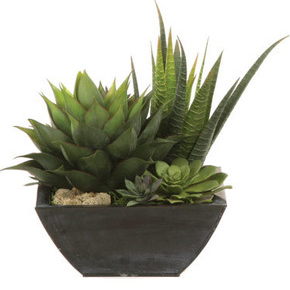
Now that we are becoming more conscious of our environment and more water conscious, a great way to finish any outdoor living space is to use a variety of potted plants. These require considerably less water and can be changed seasonally. Drought tolerant planting can also be used.
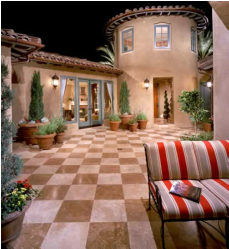
When it comes to hardscape for an exterior, we have a tremendous variety of materials like natural stone, concrete or concrete products for pavers and for hard surface materials. There are concrete tiles as well as some ceramics which are suitable for outdoors. Then we have natural materials like compacted granite, gravel and of course natural rocks. Don't forget, we haven't even talked about the products we have for wood decks and/or patios which we can discuss if you are interested in that kind of material for your outdoor living space.
Now that we are becoming more conscious of our environment and more water conscious, a great way to finish any outdoor living space is to use a variety of potted plants. These require considerably less water and can be changed seasonally. Drought tolerant planting can also be used.
When it comes to hardscape for an exterior, we have a tremendous variety of materials like natural stone, concrete or concrete products for pavers and for hard surface materials. There are concrete tiles as well as some ceramics which are suitable for outdoors. Then we have natural materials like compacted granite, gravel and of course natural rocks. Don't forget, we haven't even talked about the products we have for wood decks and/or patios which we can discuss if you are interested in that kind of material for your outdoor living space.
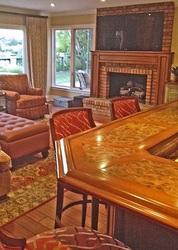
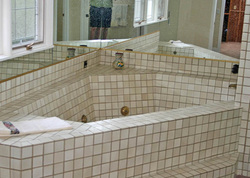
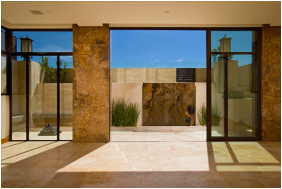 Design by Rich Starley Interior Design Studio
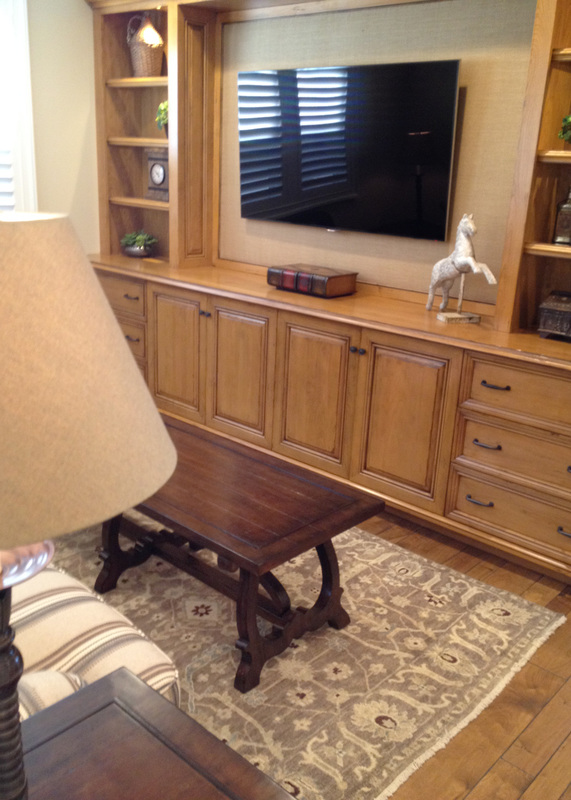
 Noted in this design, we literally brought the inside material outside to give the client a truly indoor-outdoor feel. We also included a vary unusual water feature that was produced from one solid slab of granite.
A variety of natural materials can be used for walkways, paths and seating areas. For someone who really wants the look of grass, but not the expense of the water bill, there are great looking artificial turfs too.
A variety of natural materials can be used for walkways, paths and seating areas. For someone who really wants the look of grass, but not the expense of the water bill, there are great looking artificial turfs too.
Time to Update Your Exterior Space
I encourage my readers to take a look at the Summer Classics website and contact me to design a new outdoor living space or update the one you have. Please make a point to call us at the Design Center so we can come and take a look at your space and give you our suggestions. (562) 987-3738.
As always your comments and questions are very welcome.
As always your comments and questions are very welcome.


 RSS Feed